Posted on

Halloween Coupon on My Applique Patterns!

So before I get to the patterns, I just wanted to share that I have officially learned how to bunny hop on a scooter! LOL We got our son a scooter not too long ago, and he has been having a blast trying to learn tricks on it. He even took it to the skate park yesterday and was riding down the ramps and stuff. So today he asked me to come watch him ride, which I was happy to do, and he offered to teach me to bunny hop. It took me a few (okay more than a few) tries, but eventually I finally did it!! I was so happy for me, and it was so cute to watch my son be so excited for me. Now he insists that I must get my own scooter so we can go scootering together. I may just have to do that!

Today I wanted to share a few new PDF applique patterns I created. I am having so much fun coming up with ideas. I have a whole book of ideas that I haven’t even drawn up yet, and more that I have drawn, but not uploaded! But let’s look at some I did upload.

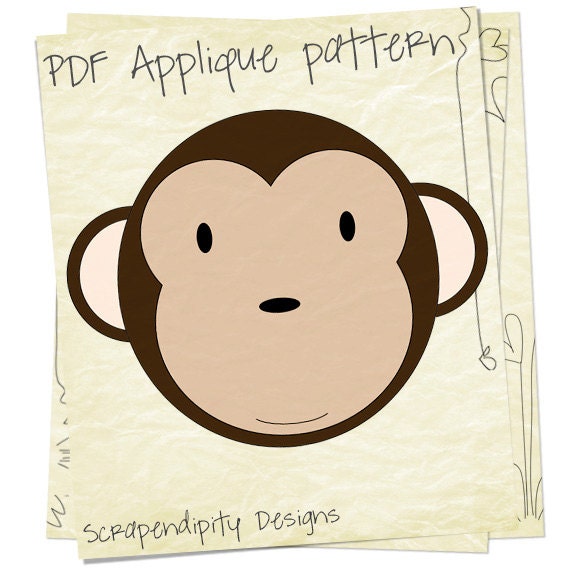
Monkey Applique Pattern
This adorable monkey is one of many animal patterns I have in my shop now. Wouldn’t he look so cute on a toddler’s t-shirt?

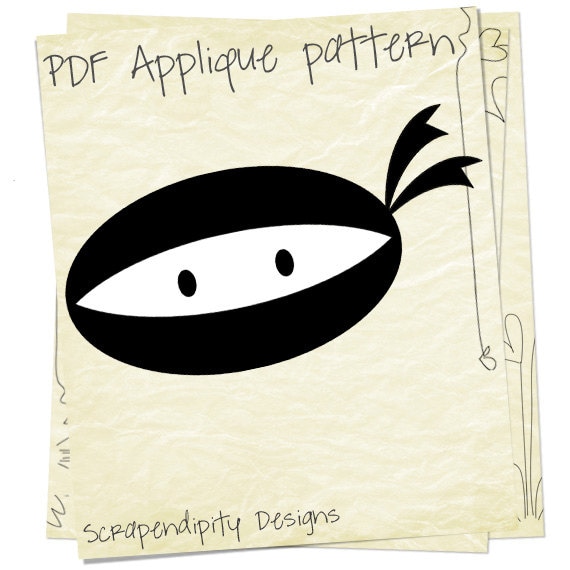
Ninja Applique Pattern
A crime fighting ninja is always a good addition to the family!

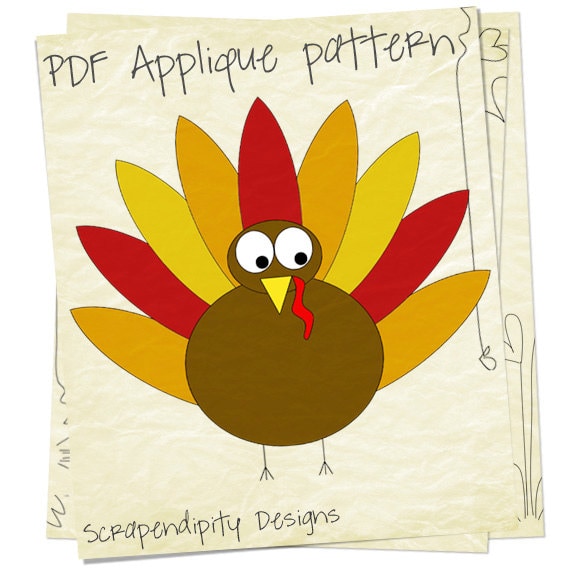
Thanksgiving Applique Pattern
Doing some holiday sewing? Wouldn’t this guy look awesome on an apron for the Thanksgiving chef?

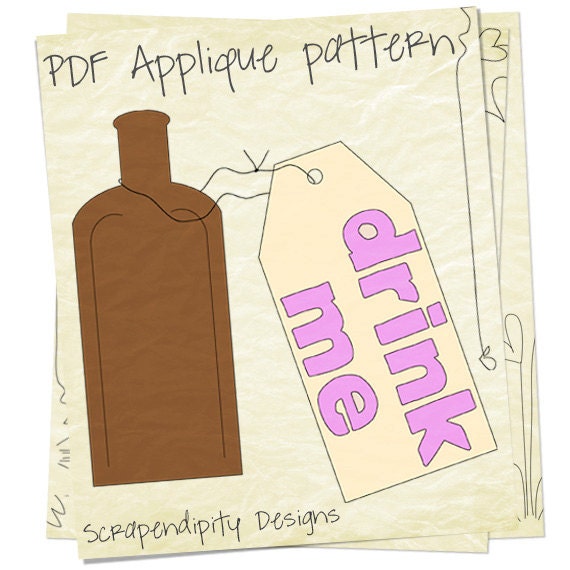
Alice in Wonderland Applique Pattern
I am working on a fairy Tale series of patterns, and this is one from Alice in Wonderland.

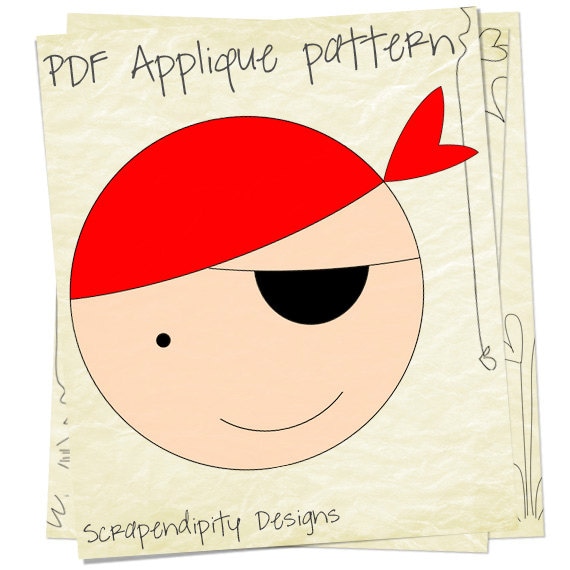
Pirate Applique Pattern
Yargh! How’s a pirate hit ya matey?

These are just a few of the new ones I have added. To see them all, check out my shop over at Etsy … Scrapendipity Designs.

I haven’t really done an applique tutorial on this blog yet, but I am hoping to do that soon. I am just having too much fun designing to stop and sew!! If you do purchase one of my patterns and you aren’t sure how to do applique, please just let me know and I would be happy to send along some links to good tutorials I have found.

Also, be sure to sign up for my newsletter. You can do so in the right hand side of this blog. I am planning on sending out periodic emails featuring the new patterns I add to my shop. That is probably the best way to keep up to date on what I am adding!

Happy Quilting (and scootering)!
Rachel

Posted on

Applique Pattern Samples

Today I was able to make up 3 samples for patterns. I used a few different styles of applique for these. If these ever get made into a quilt, I will ultimately longarm them, so even the raw edge applique will be sewn down. But I still like the look of needleturn applique, so I try to do that when I can as well. That method just takes longer to do and I am not real good at small pieces with that, so raw edge works great for those. If you are interested in the pattern for each of these, they are only $1.50 and can be found by clicking on the actual pictures.

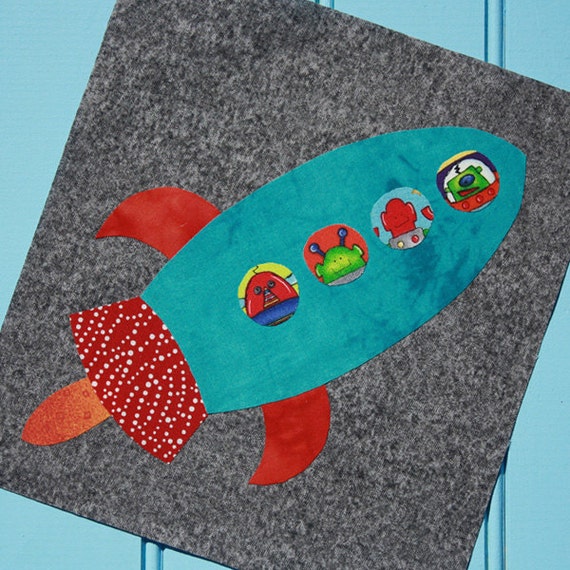
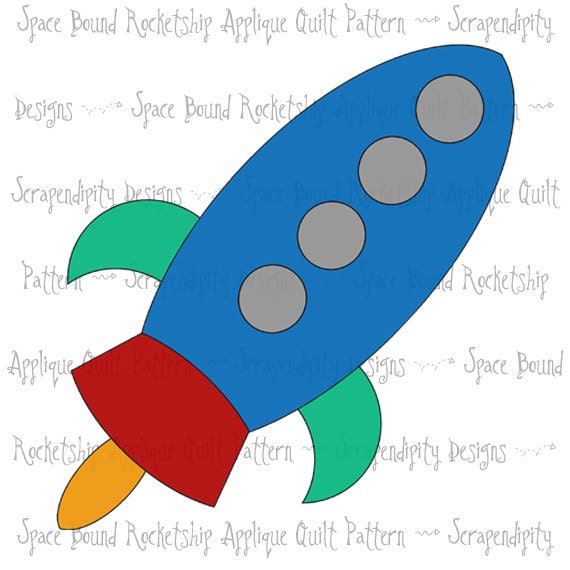
Here is a rocketship. I fussy cut a fun fabric for the guys in the windows. Hubby was impressed with that easy little bit of work.

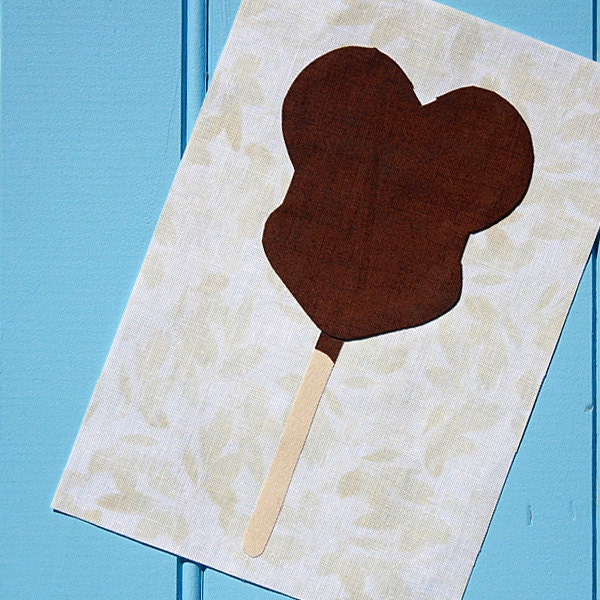
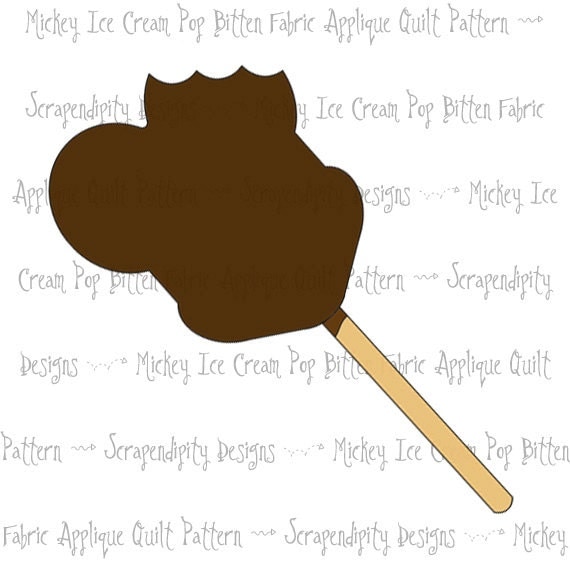
Here is the Mickey Ice Cream Pop. I love how this turned out. My favorite part of it is the bit of chocolate left on the popsicle stick from when it was dipped.

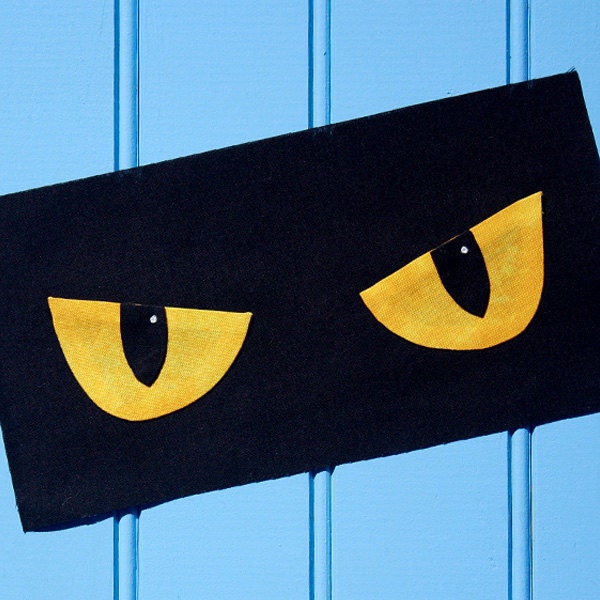
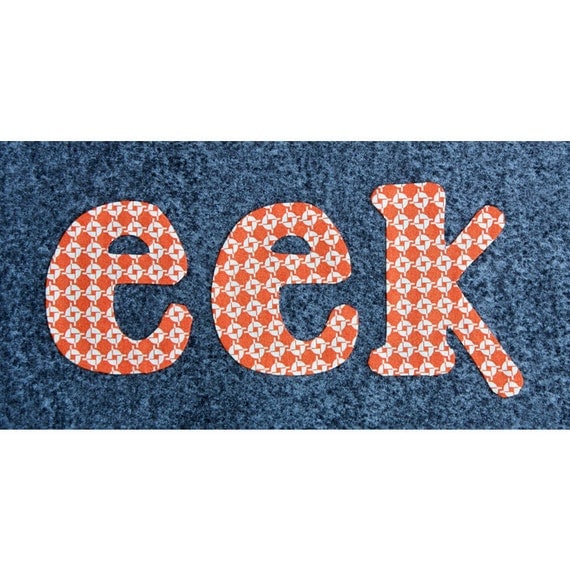
Here is a creepy pair of Halloween eyes. I thought they really popped off the black fabric, makes them look like they are lurking in the dark waiting to pounce on you.

I am having so much fun making patterns. Yesterday I had a flurry of ideas for future patterns and I am excited to make them up. I also have about 15 patterns I have already made, but haven’t posted for sale yet. So hopefully there will be plenty of choices of patterns to choose from!

Happy Quilting!
Rachel

Posted on

Virtual Sew Day and More Patterns!

So I have been keeping up with Virtual Sew Day over at Quiltingboard.com, even though I haven’t been posting it so much here. Tomorrow is another one! Honestly I haven’t been doing much sewing lately (hence the quiet blog), but now that I am creating patterns, I am starting to feel the sewing bug again. Tomorrow I will be working on some of my new patterns and maybe a few other projects thrown in for fun. If you would like to join in, Virtual Sew Day is just a fun day where you sew at home, I sew at home, and then we chat about our progress to keep each other motivated. You can post here, or check out the post I will start over at Quiltingboard.com.

I have created quite a few new patterns. You can pick any of them up at my Etsy shop or my Craftsy shop. These are all fabric applique patterns. They are sold as templates only. Here are a few new ones I have added, I will post some of the actual fabric blocks tomorrow as well.

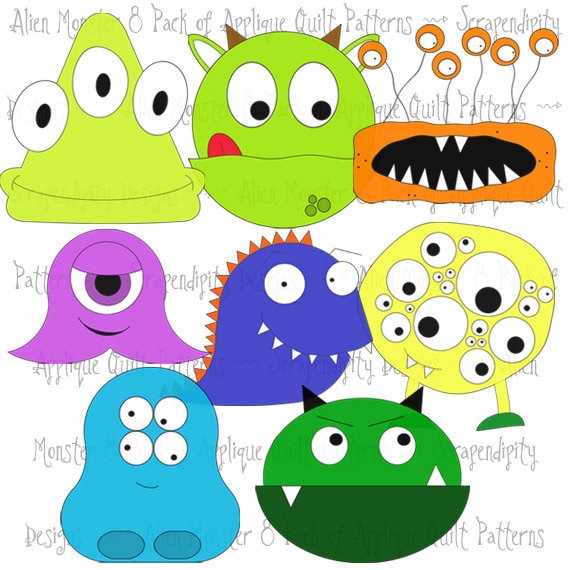
First up we have a large pack of alien monsters. These guys would look great as a whole quilt. The pack, however, only includes the templates not quilt instructions, so use your imagination to build something fun!! All these patterns are also sold individually.

Next up I have something based on our recent trip to Disney World. These Mickey ice cream pops were everywhere and really signified that you had arrived. This one has a big bite out of it, but I also have one with no bite in my shop.

To go with the alien monsters, I also created a few space themed applique patterns like this rocketship. I think these would look great sprinkled in with the monsters as well!

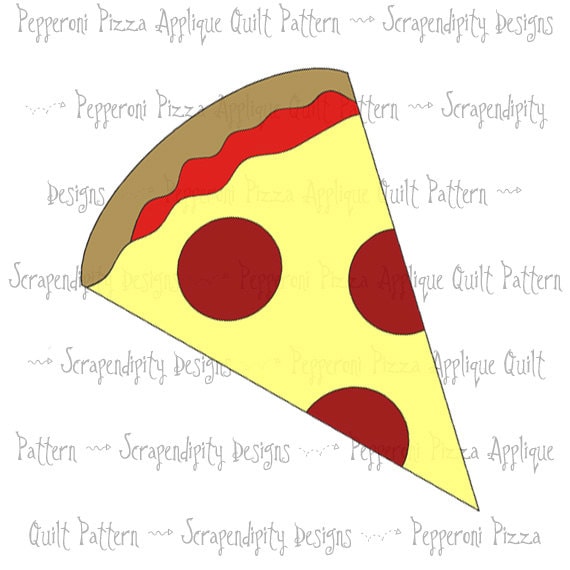
And lastly, I know it’s a bit odd to see food as a fabric applique, but I just thought it would be fun to see a quilt made of classic foods!! This pizza slice is one of the ones I have in my shop.

These are just a couple examples, I have more in my shop, so be sure to check them all out!! Tomorrow I will have some examples of what these look like when made out of actual fabric!!

Happy Quilting!
Rachel

Posted on

New Applique Halloween Patterns

I has been a while since I last sewed!! Of course I always love sewing, but sometimes it gets put aside for a while in the name of other pursuits. But I recently slowly started back up again, and the first thing I started with was making some patterns. I am having fun creating these, and of course I have a whole treasure trove of ideas locked away in my head to create. I am selling my patterns on Etsy and Craftsy. They are applique patterns, but the patterns themselves do not include applique instructions. I have used at least 5 different applique methods myself, and a Google search can yield hundreds of options, so I decided to only include the patterns and let people use their own preferred method. So you want to see my patterns? Here you go!

First up is some wordage. I love words in quilts, and of course Halloween words are just the best. I started with two smaller words eek ….

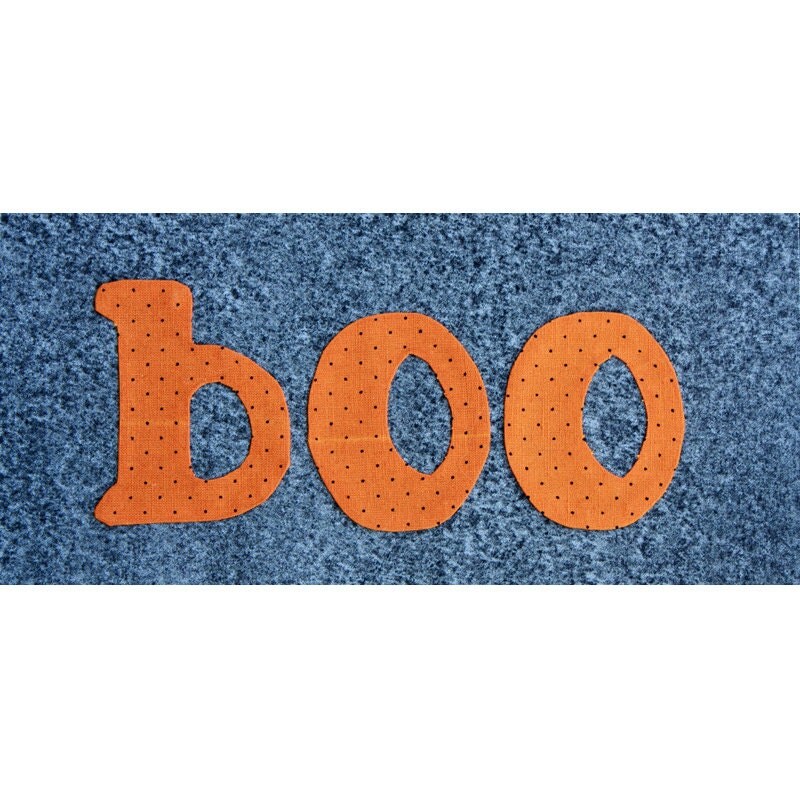
and boo …

Both words are included in one pattern, and I provided the right side and reverse pattern as well. The pattern can be found here:

Eek-Boo Halloween Pattern at Etsy
Eek-Boo Halloween Pattern at Craftsy

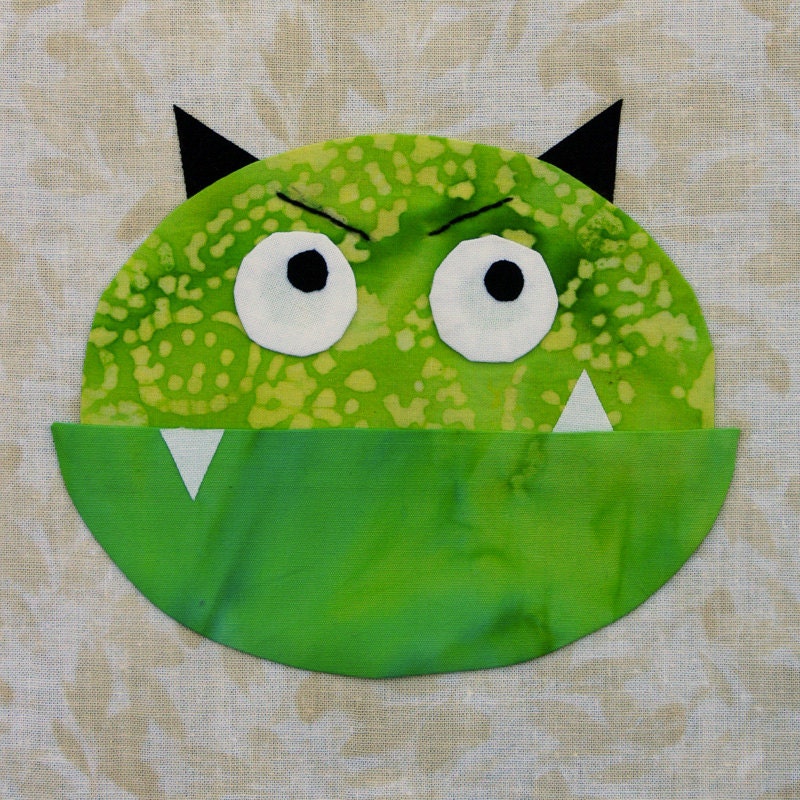
The second pattern is a fun monster who is looking not too happy.

I had fun making this little guy. I had a hard time deciding on the eyebrows, but ultimately I liked his angry look. Of course you can feel free to change the eyebrow placement to get a whole slew of expressions! The pattern for this guy can be found here:

Cute Monster Halloween Pattern at Etsy
Cute Monster Halloween Pattern at Craftsy

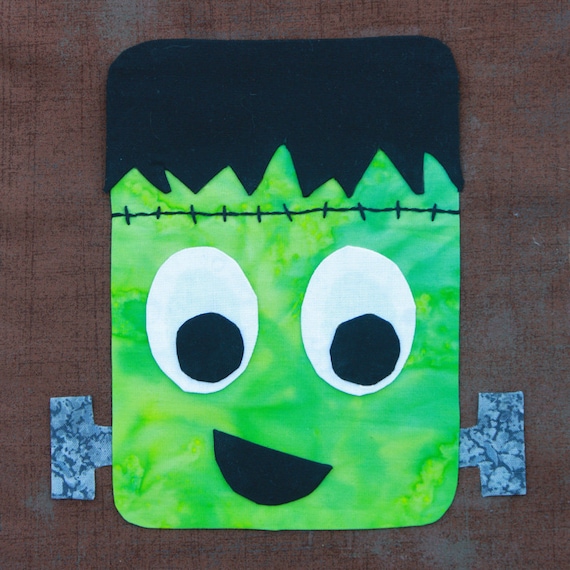
The third pattern is a fun and playful Frankenstein.

Since I went angry with the monster, I decided to make Franky a little more playful. I guess he is just happy to be alive!! The pattern for Franky can be found here:

Frankenstein Halloween Pattern at Etsy
Frankenstein Halloween Pattern at Craftsy

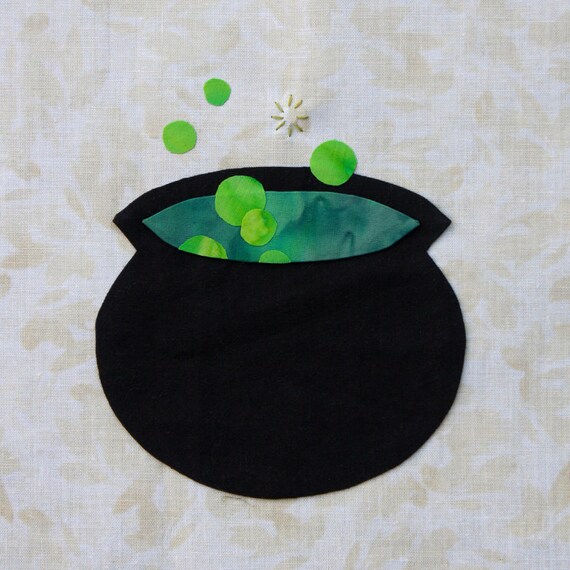
And last for today is a bubbling Witch’s Cauldron.

I have always loved the look of a bubbling witch’s brew. Is she making spells and potions, or just dinner? You can get the pattern for the cauldron here:

Witch’s Cauldron Halloween Pattern at Etsy
Witch’s Cauldron Halloween Pattern at Craftsy

That’s it for today!! I have a few more in the works that will get posted soon, but I had so much fun making these ones. I hope other people enjoy them as much as me.

Happy Quilting!
Rachel

Posted on 3 Comments

Come Virtually Sew With Me Today – 5/20

Welcome to my Virtual Sew Day!

I had so much fun last month, and I hope others will be joining me too this time around! This is very laid back, no real rules, just loads of sewing and encouragement. Here are the guidelines:
 
 
If you will be sewing today too, let me know. You can do this by putting together a post on your blog with your goals for the day (and link back to this post so others can join in too!). Then come and leave me a comment with a link to your post so I can see what you are working on. If you do not have a blog, just leave your goals right in my comments.

Then through out the day, be sure to update us on your progress by posting a comment here. We would also love to see progress pics if you have them. Post your pics on your blog, or link us to your pics on Flickr. This is really low key and meant to be a fun way to keep ourselves motivated through out the day to reach our goals!!

At the end of the day, be sure to give us a full update either by a new blog post with pics or by commenting below. Did you reach your goals?
 
 
My goals for today are:

1. Sew at least one block in my “Alice” quilt
2. Sew at least 10 block in my solids quilt
3. Work on a WIP that hasn’t been touched in a while

So what will you be working on? be sure to check my blog often as we will be offering up loads of encouragement right here in the comments!

Happy Quilting!
Rachel

Posted on 41 Comments

Blogger’s Quilt Festival – Dr. Seuss Quilt

I am so excited to be participating in the Blogger’s Quilt Festival again this year. Twice a year Amy, from Amy’s Creative Side, hosts a quilt festival to coincide with Quilt Market. It’s a wonderfully fun way to see all sorts of quilts across the blogsphere.

Today I will be showing off one of my more popular quilts using Dr. Seuss fabrics, but first I wanted to remind everyone about the Virtual Sew Day I will be hosting this Sunday, May 20th. I hosted one last month as well and it was a lot of fun! I would love to see more people join us this time though. There are no rules!! We just post our goals for the day (you can do so on your blog or in the comments of my post on Sunday if you don’t have a blog), then check in every so often through out the day. It’s a great way to get some sewing done and have support while you are doing it! If you are interested, be sure to check back here on Sunday for my official post. You can follow my blog’s RSS by your own feed reader, or I have a way to follow by email on the right there. You can also sign up for my newsletter over there. This way you can get updates and be reminded to sew with us … virtually!

Okay so now on to my quilt …

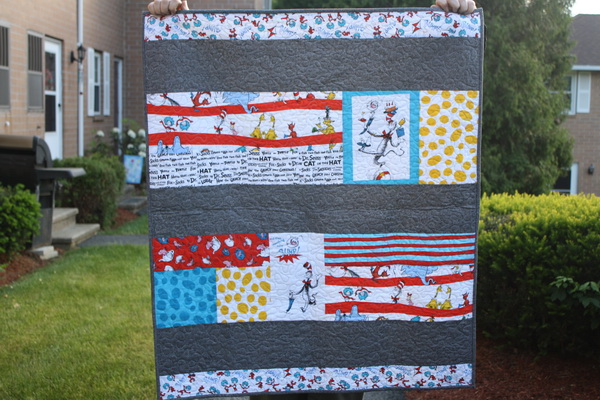
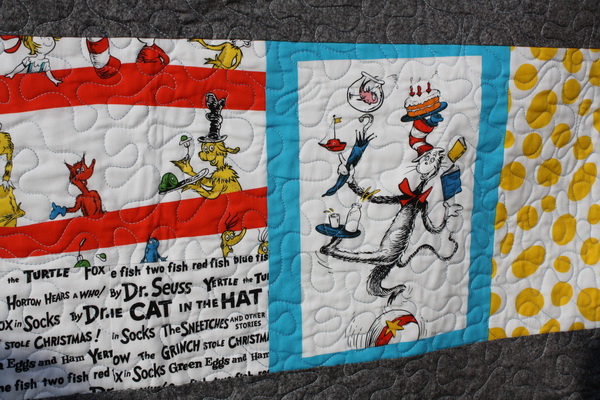
This quilt was made for a pregnant co-worker/friend that was moving back to Australia. At the time we didn’t know the sex of the baby, so I decided to use my stash of Dr. Seuss fabrics to make her something special.

These Dr. Seuss fabrics were the first time I had bought every single fabric in a line. I have been in love with Dr. Seuss for a long, long time. In high school I actually joined one of those subscription book clubs just to start collecting Dr. Seuss books for my future children. I dragged them around with me for 4 years through college before that baby was born! So when I saw these fabrics, I knew I had to have them. They have made some wonderful quilts for me so far.

The backing is a dot fabric that I had intended for another project, but it fit so well for this quilt that I decided to abandon the other project. It was going to be a purse, but I probably never would have made it anyway. LOL

I did a simple meander on the quilt to tie everything together. I love the look of a good all over quilting design.

And I bound the quilt in the same grey that is used on the front. I think it really ties everything together and frames the whole quilt.

This is one of my most popular quilts on my site, and I am happy to say that my friend’s son is now old enough to be getting loads of tummy time on this quilt. Recently I turned this quilt design into a pattern, if you are interested in seeing that I have it available in my Craftsy shop or on Etsy.

Thank you for visiting my blog today and I can’t wait to get more inspiration for Amy’s Quilt Festival!

Happy quilting!
Rachel

Posted on

Slow Week

This week has been a slow week for project creation. I am working on something new that I am not ready to share with the world yet, but hopefully soon!! I haven’t gotten too much done on all my various WIPs (seriously am I the only one who has an upteen number of quilts in various stages of completion??), but with our Virtual Sew Day coming up, I am hoping to work on a few.

Speaking of, will you be joining me next Sunday?

Last time I had so much fun and I hope we can get a few more quilters to join us. To read what Virtual Sew Day is all about, you can check out the details from our first one here. I hope you can join in!!

In other news, I was able to get my first pattern, So Whimsy, to go live. If you are interested in purchasing this pattern …

I have it available in my Craftsy shop or on Etsy.

I think that is all for now!

Happy quilting!
Rachel

Posted on 3 Comments

Dr. Seuss Quilt Pattern Reviewers Needed

I have decided to take a foray into pattern writing and I was hoping I could get some help. I have made a pattern from my Dr. Seuss quilt:

This is my first attempt at pattern writing, so I would love it if someone could try it out to see if it makes sense. Even if you don’t have time to actually make the quilt, I would be happy even for a read through to make sure the wording makes sense and that there are no spelling errors. I am hoping to get some feedback within the next week as I would like to make this pattern for sale soon.

If you can help me, just leave me a comment here and I will email the pattern out to you. Or you can email me directly at athenagwis at hotmail dot com. I really appreciate any help I can get.

Update: I now have this pattern for sale! You can buy it in my Craftsy shop here or on Etsy.

Happy Quilting!
Rachel

Posted on 1 Comment

Scrappy Irish Chain Quilt Pattern (Tutorial)

I am not sure if this is considered a pattern or a tutorial, I guess it’s a pattern since it ends with a finished product, but I always feel like when I just blog about it, I should call it a tutorial! Either way, my post about my Scrappy Irish Chain quilt is one of the more popular ones on my blog. I get quite a few Google hits from people looking for this type of quilt. The Original Post does not have an actual tutorial on it, so I thought I would make one up. This gave me a good excuse to test out EQ7 and some pattern writing skills too! My hope is to make some actual patterns to sell using EQ7, but of course first I have to have good practice with it. So you get the benefit of all my practice patterns! Here is the original quilt I made:
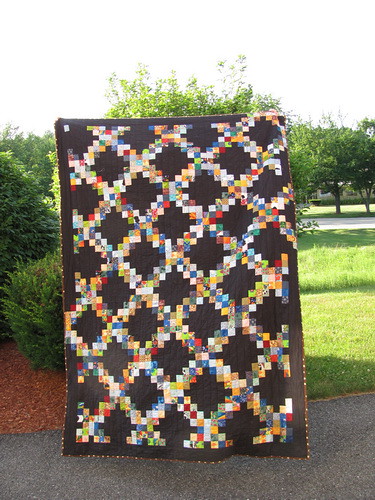
I only had black fabric at the time, but I love how it looks and it’s very different from other Irish Chains I have seen. I really should take the time to get some new pictures of it, but for now, I will just teach you how to make your own!

*One side note, this tutorial will have solid borders, but mine has pieced borders. I couldn’t figure out how put that together in EQ7, so I just stuck with the solid borders. Someday I will figure out how to describe the pieced borders for you.

Tip: When you are making a new pattern, I would highly suggest making a test of each block first to be sure that the instructions are correct before you cut into all your fabric. Pattern writers try their best to make no mistakes, but no one is perfect and it’s best to find out there is a mistake when you have only cut a small amount of fabric than after you cut it all. This also gives you the chance to test the technique and understand how it works before you have to assemble the whole thing.

Materials Needed
Based on fabrics that are 42 inches wide

3 Yards background fabric
3 Yards scrappy fabric

Finished Quilt Size
56.5 inches x 79 inches

Directions
This quilt is made up of 2 blocks.
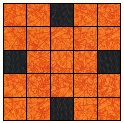

Block A
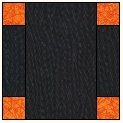

Block B

We will be putting these two blocks together to form the whole quilt.
 
 
Assembling Block A

We will be making 35 of these blocks. Cut 140, 2-inch squares from the background fabric. From various scraps cut, 735, 2-inch squares.

For one block, you will need 4 pieces of background fabric, and 21 pieces of scrap fabric.

Refer to the image above for the correct placement of the pieces. When sewing try to press the seams for each row all in one direction. Then alternate the direction for each row, this will make assembling the rows much easier. Here is a guide for sewing.

BF=Background fabric
SF=Scrap Fabric
> or < = Direction to press seams Row 1
SF > SF > BF > SF > SF

Row 2
SF < SF < SF < SF < SF Row 3
BF > SF > SF > SF > BF

Row 4
SF < SF < SF < SF < SF Row 5
SF > SF > BF > SF > SF
 
 
Now sew the 5 rows together, I find it easier to sew in pairs rather than just adding one row at a time. Here is my method:

Step 1: Sew together 1 + 2; 3 + 4
Step 2: Sew together 3&4 + 5
Step 3: Sew the last 2 sections together

You will have 35, 7.5 inch blocks when you are done.
 
 
Assembling Block B

We will be making 35 of these blocks. Cut 70, 2 x 5 inch rectangles and 35, 5 x 8 inch rectangles from background fabric. From various scraps, cut 140, 2 inch blocks.

For one block, you will need 4 pieces of scrappy fabric, 2, 2 x 5 pieces of background fabric, and 1, 5 x 8 piece of background fabric.

Refer to the image above for the correct placement of the pieces. To each end of the 2 x 5 rectangle, sew one scrappy square. You will make 70 of these pieces. Take two of these, and sew them to each side of the 5 x 8 rectangles.

You will have 35, 7.5 inch blocks when you are done.
 
 
Assembling the Quilt

To assemble the blocks, you will be alternating the blocks in each row. There will be 7 blocks in a row, with each row starting with the opposite block as the one above it. Please refer to the picture as a guide, but here is a placement guide as well.

A B A B A B A
B A B A B A B
A B A B A B A
B A B A B A B
A B A B A B A
B A B A B A B
A B A B A B A
B A B A B A B
A B A B A B A
B A B A B A B

Once each row is assembled, sew them all together. Once again, I like to sew the rows together in pairs. This will make assembly much easier than sewing one row on at a time. Be sure to match up the seams as you are sewing as well. My method of sewing these rows together is as follows:

Step 1: Sew together 1 + 2; 3 + 4; 5 + 6; 7 + 8; 9 + 10
Step 2: Sew together 1&2 + 3&4; 5&6 + 7&8
Step 3: Sew together 5&6&7&8 + 9&10
Step 4: Sew the last 2 sections together
 
 
Assembling the Borders
For the borders, cut 7, 2.5 inch strips from background fabric, selvedge to selvedge. This will give you 7 strips approximately 42 inches long. Trim the actual selvedge part from all the strips, squaring up the ends in the process.

Take two strips and sew them together end to end to form a strip that is about 84 inches long. Repeat. You will now have 2, 84 inch strips. Sew these strips to the left and right sides of the quilt. The strips will be larger than the quilt on the top and bottom. When pinning, be sure to leave a little extra on each side for easing in. Start pinning the borders on in the middle of the quilt and work your way out. Be careful not to stretch the blocks as you are pinning. Once the borders are sewn on, trim the ends so they are square with the top and bottom of the quilt.

Take one more strip and cut it in half, sew each half to another strip forming two strips that are about 63 inches long. Attach these to the top and bottom of the quilt in the same manner as above.
 
 
And your top is done! Now just use your preferred method of basting, quilting, and binding your quilt. Then take a step back and enjoy all your hard work!

If there are any questions about this tutorial or if I have made any mistakes, please feel free to let me know! I considered turning this into a PDF as well, if that would be useful to anyone, let me know in the comments and I will get on that.

Happy Quilting!
Rachel
Posted on 8 Comments

Recap for the Week!

I didn’t get a ton of sewing done this week, but I did finish a few things, which felt great. I have one quilt in my sights for next week as it only needs a binding, so that is my goal.

My biggest finish for this week was a very quick quilt I made for my son.

It’s not the prettiest quilt I have made, but it was made in under an hour and my son adores it, so it was a win-win! I wrote a quick tutorial for it too (though I warn you, it’s pretty rough!! LOL). You can find it here:

Quick, Easy, and Cuddly Quilt

My second finish was a tutorial for EQ7. I got this as an early Mother’s Day present and have been having loads of fun using it. I had a hard time finding tutorials for the program online, so I figured as I was playing around I would type up some quick tutes for anyone that might have this program.

And of course I will share the resulting quilts as patterns on my blog too! For now I have posted the tutorial for the basic quilt design in Electric Quilt 7 here:

EQ7 Basics Tutorial

I am having so much fun using this program. I have wanted it for a while, but never actually went through with buying it. I wish I had!! I think you’ll be seeing a lot more patterns round these parts. I already have my Sew Out Loud paper piecing pattern done up in EQ7 so I can share it with you guys soon!

And if you subscribe to my newsletter below, you may even find some fun stuff in your inbox soon (hint, hint)!! 🙂 🙂

Newsletter Sign-uo


I think that’s it for this week, I am looking forward to next week and seeing what I can get done!

Happy Quilting!
Rachel
Posted on

Electric Quilt 7 – Basic Quilt Making Tutorial

Every year my husband and I choose what we want for Mother’s Day/Father’s Day. We used to surprise each other, but now we use it as a way for each of us to choose a special thing that we wouldn’t get otherwise. This year I chose Electric Quilt 7. I picked it up a little early, and have been playing around with it for a few days. I have only scraped the surface of what the program can do, but I have had fun building some quilts in there. I decided to write a quick pattern for my Scrappy Irish Chain quilt as practice, since it’s one of my more popular posts on my blog. I figured while I was doing that, I may as well write an EQ7 tutorial too.

I will have the tutorial for the actual quilt in another post soon, but for now you can download the PDF instructions for building this in EQ7 here:

Electric Quilt 7 Basic Tutorial

If you have any questions (or notice any errors, I just typed it up quick!!), please feel free to ask or let me know!

Happy Quilting!
Rachel

Posted on 2 Comments

Quick, Easy, and Cuddly Quilt Finish

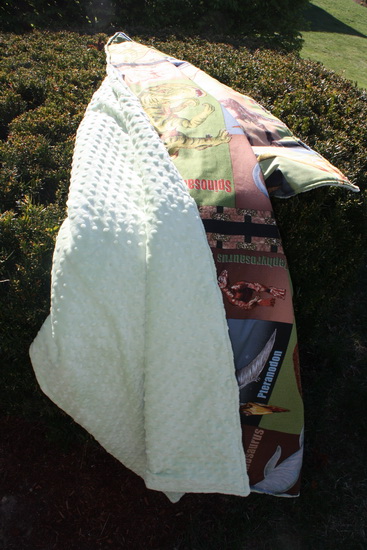
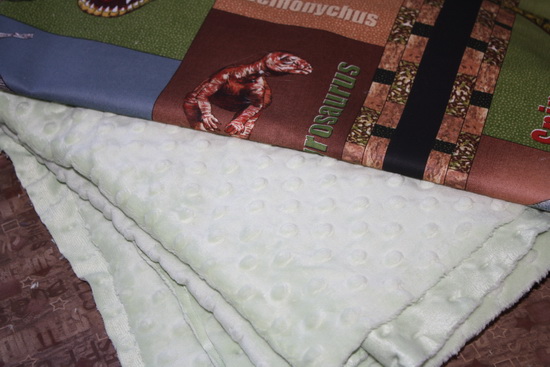
This has to be the absolute quickest finish I have had in a while. While we were at the local quilt store the other day, my son found this super soft nubby fabric. I know there is a good name for it, but I can’t think of it right now. It is usually used for the back of baby blankets, but my son just loved the feel of it. So I picked up a yard of it (it is 60 inches wide) and then 2 yards of fabric from the clearance rack as well.
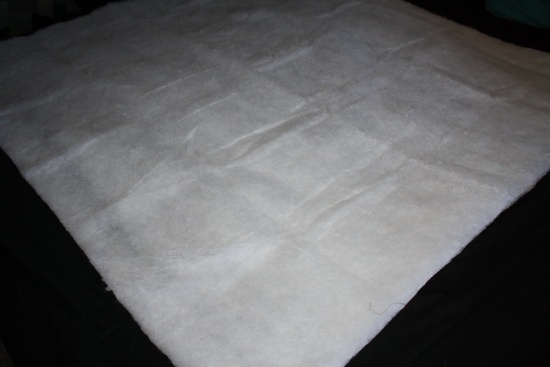
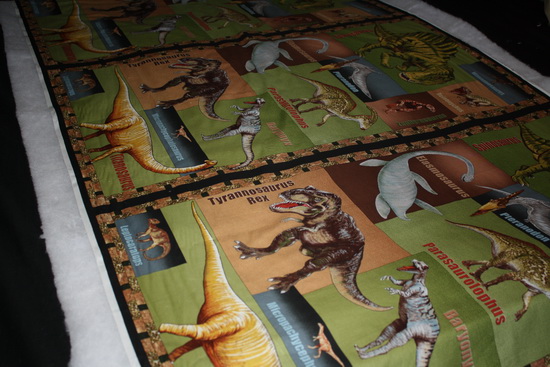
This is a very simple quilt, no piecing. I pulled out one of my Puff battings, throw size I think, and laid it out flat. If your batting has a scrim side, be sure that side is face down.

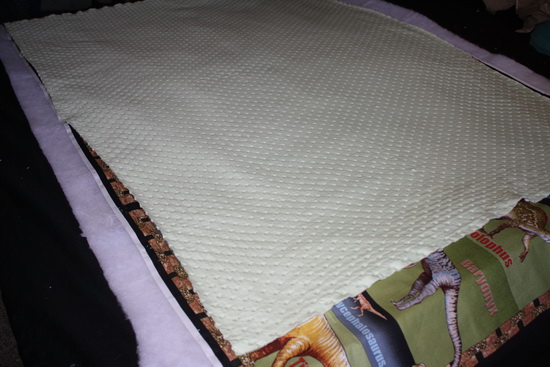
Then layer the fabric for the top on the batting face up.

Then the last layer is the backing fabric. Place this one face down on all the layers.
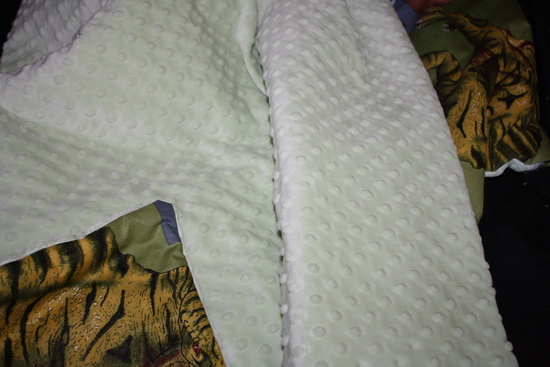
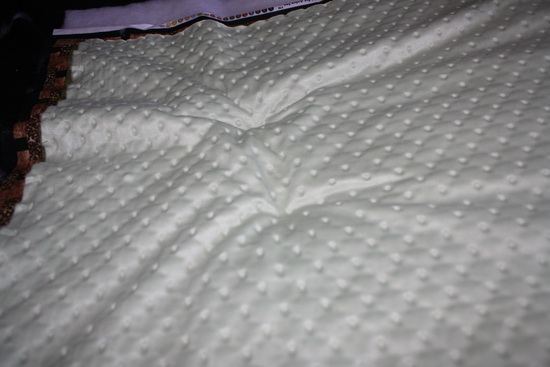
Make sure everything is nice and stretched out and smooth. Be sure that your kitties are out of the room, or this might happen.

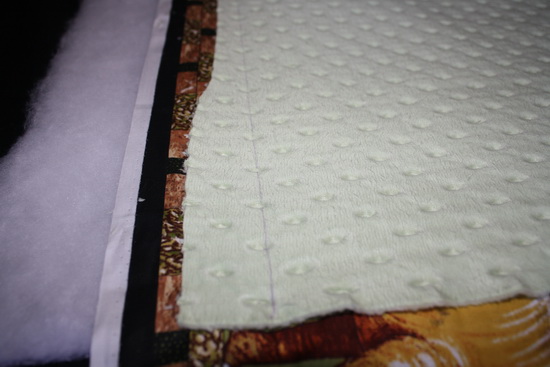
No worries though, kitty marks smooth out very easily. 🙂 🙂 If the edges of your top fabric are not straight, draw a line up each edge. This will be your sew line, so be sure it is at least 1/2 inch from the shortest edge of the fabric.

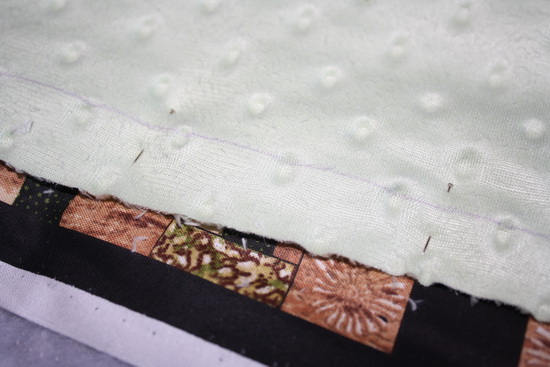
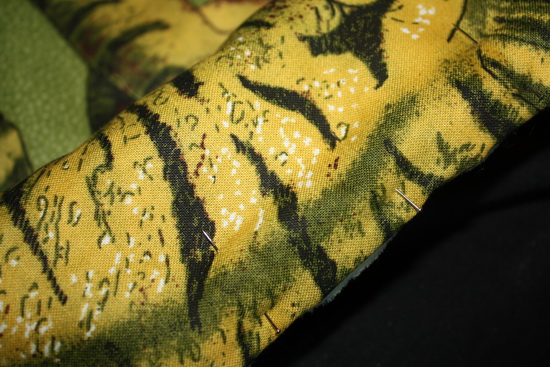
Pin through all three layers right along the line you drew. Pin all 4 sides, leaving an opening about 8 inches long or so on one side.

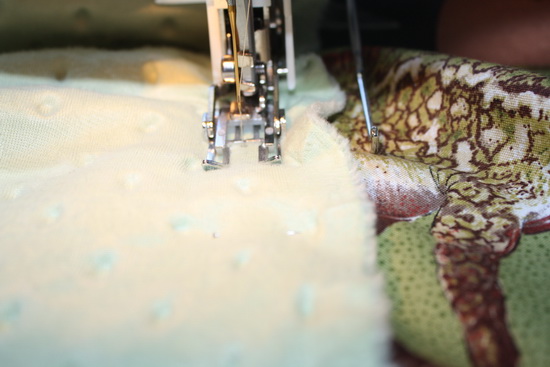
I started sewing this with my walking foot.

But found that my regular foot worked just as well. I didn’t do a very good job of spreading out my fabrics so I did get a bunch of tucks on the nubby fabric as I sewed (with both feet), but it really did not make a difference as because of the nap of the fabric you couldn’t see them at all.

Sew around all 4 sides leaving the 8 inch opening unsewn. Once you are done, clip the edges back to a 1/2 inch from the sew line, clip the corners a little closer, but do not cut through the stitching. Turn the quilt through the opening you left and push out the corners. Adjust everything so it lays flat. This is a weird photo, but you can see the corner turned out here.

Fold back the top and bottom fabrics a 1/2 inch and pin the opening closed.

Top stitch 1/4 inch from the edge all around 4 sides. You do not need to hand stitch the opening closed as this top stitching will close up the opening for you.

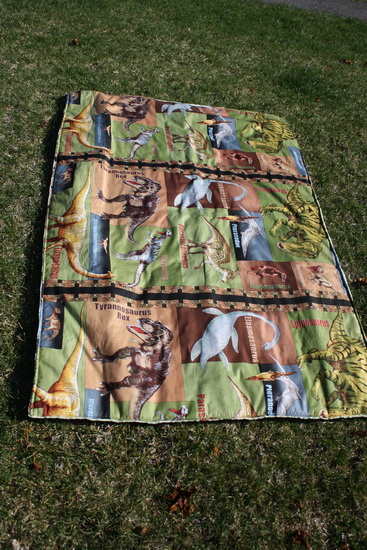
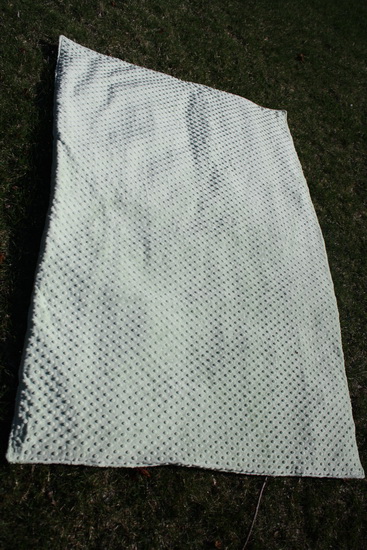
Once the top stitching is done, your quilt is finished and ready to be loved!

Sorry if this isn’t the most polished tutorial, I just tried my best to take pictures as I was making it, but didn’t really plan it our real well. LOL If you have any questions as you are trying it, be sure to ask! This is a very quick and simple quilt, I didn’t do any ties or quilting as I did not want to interfere with the softness of the nubby fabric.

Happy Quilting!
Rachel