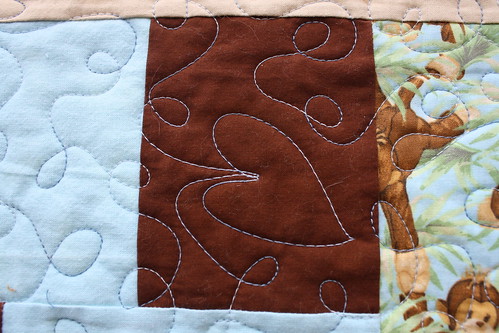
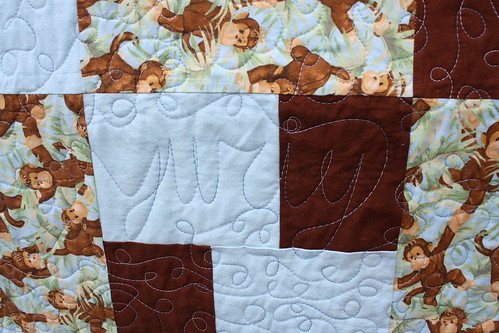
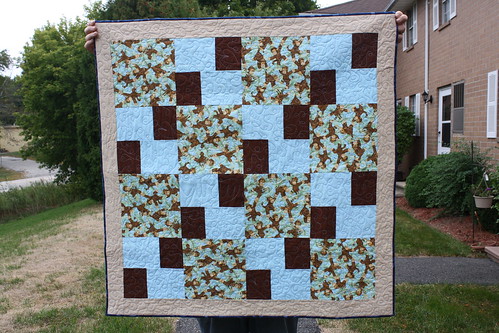
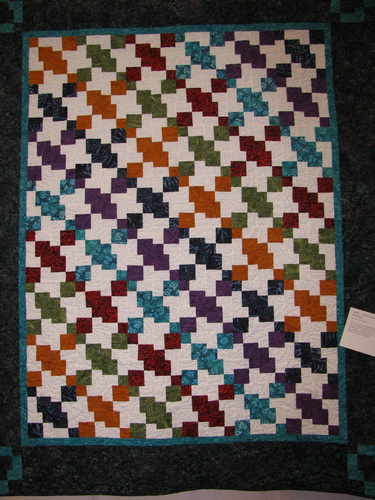
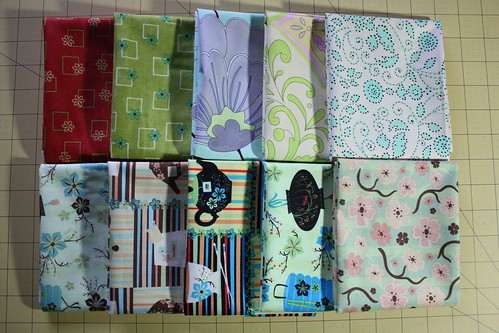
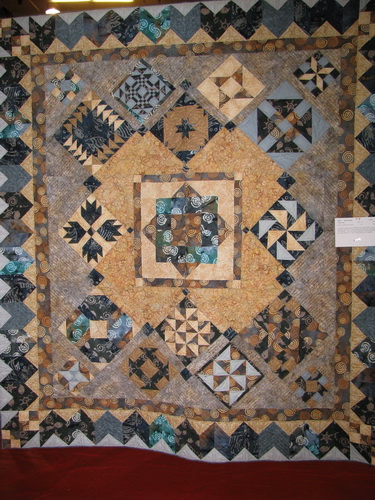
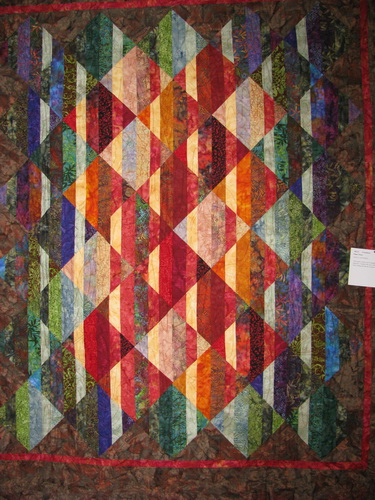
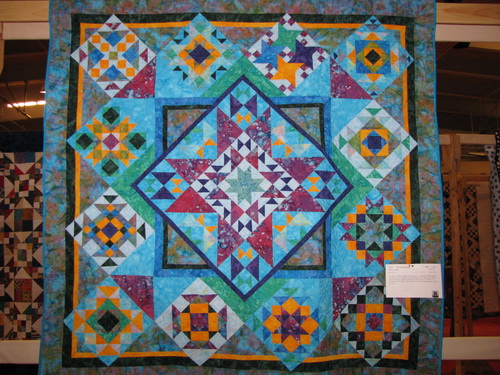
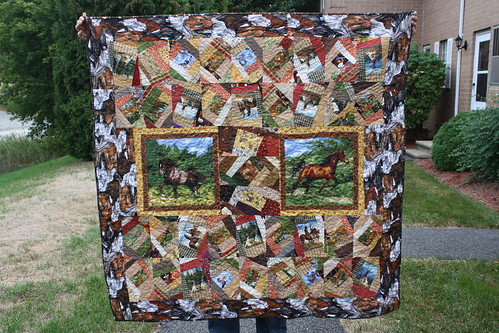
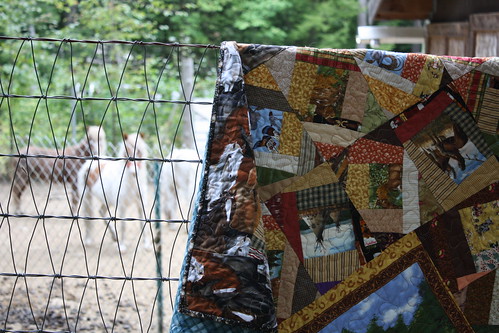
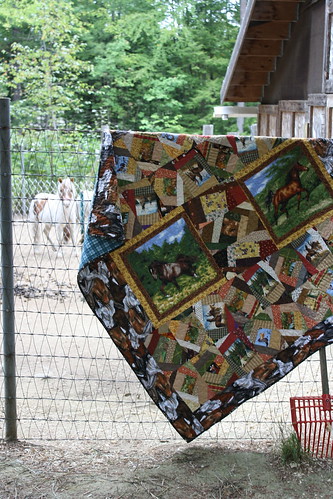
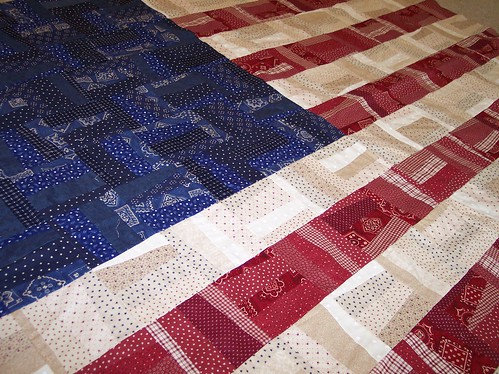
I was recently finishing up a quilt, and I took some pictures so I could give you a tutorial on how I bind a quilt. The method I use was picked up from a couple different places around the web. I have combined them to come up with what I think is the easiest way to do a straight grain, double fold binding. I do not in anyway claim this method as an original idea at all, I am only showing you how I do it!
The first thing you need to determine is how long your binding should be. Measure your quilt on all four sides. Add those numbers together and then add another foot to that. This number will be the minimum length you need for binding, the extra 12 inches allows for seaming your strips and a little room at the end for the final seam.
The quilt I am working on today was 41×42, so I need to add all four sides plus my extra foot as follows:
41 + 41 + 42 + 42 = 166
166 + 12 = 178
So I need a minimum binding strip of 178 inches long.
If I am cutting my strips from an uncut piece of fabric, I will estimate that I have 40 usable inches of fabric from selvedge to selvedge. So I take my minimum binding amount and divide it by 40 then round up to the next whole number to get the total number of strips I need for my binding. If your fabric is shorter or longer than 40 inches from selvedge to slevedge just replace 40 with that number in this calculation. If you are using random lengths of fabric for your binding, just make sure you have a strip long enough to meet your minimum number.
178 / 40 = 4.45
Rounded up 4.45 = 5
So I will need to cut 5 strips that are 40 inches long to get the length I need for my binding.
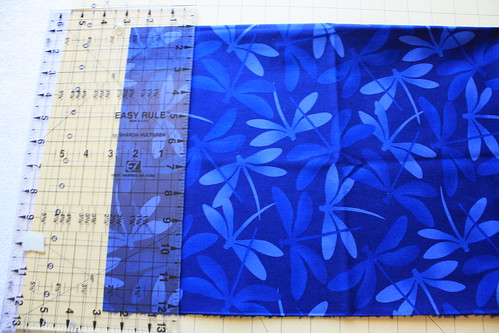
Now we need to actually cut our binding strips. I cut all my binding strips to 2.25. For this quilt I will cut 5 strips from selvedge to selvedge at a width of 2.25. (Oh and I just noticed that my ruler is actually placed at 2.75, not 2.25 …. I was wondering why my binding was so wide!! Make sure you do it right and cut at 2.25, unless you want a really wide binding like I have now!)
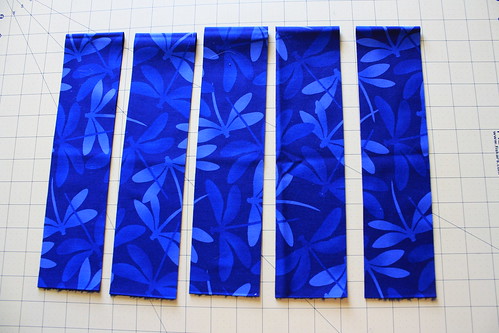
Once my strips are cut I trim all the selvedges off the ends and make sure the ends are square. I do not bother to shorten one of my lengths so I only have 178 inches of binding, I will just use the full 5 strips and trim the extra at the end. This is easier and I don’t have to ever worry about having a binding that is too short.
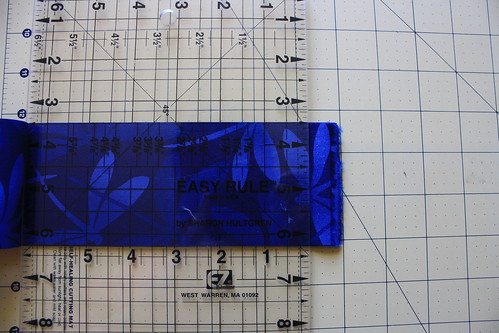
Next I join my strips at an angle. I do not do a straight join because I find that looks pretty bulky when the quilt is finished. When joining binding this way it is important to be sure you are sewing in the right direction. First I lay one end of a binding strip face up, then I place another on top face down to make a corner.
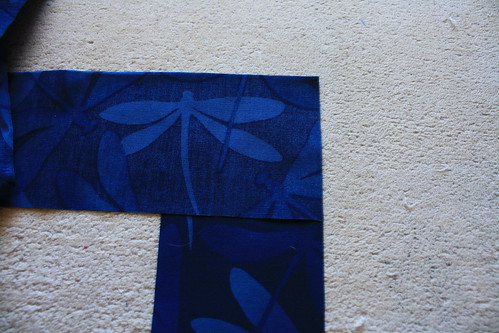
We are going to press our sew line. Take corner of the top strip that is on the outside of the square you have formed and fold it to the inside corner as shown in the picture.
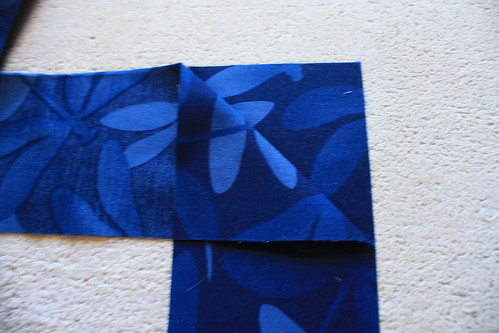
I always test to be sure it’s folded right by lifting up my strip to see if I get a nice looking binding. I have sewn this line the wrong way once and didn’t realize till my ears were all cut. So be sure to do a quick check.
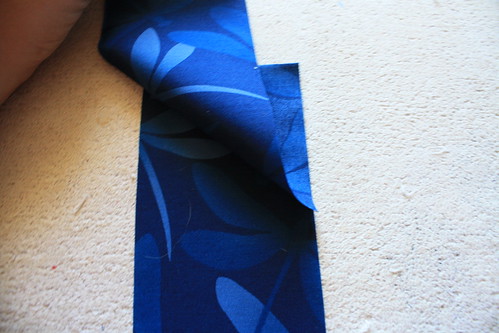
Once you know you have your fold right, iron the seam line down. Now take all five strips and lay them on your ironing board all face up. We are going to iron all the seam lines now. Just fold the corners in the exact same way as you did the first strip and iron. So each strip should have a folded end and a non-folded end.
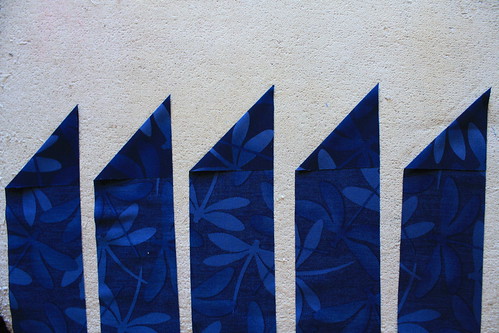
Now we are ready to sew! Imagine that your strips above are numbered 1 to 5. Take strip number 2 and place the end of the strip that does not have a fold on it face up, then take strip number 1 and place the end with a fold face down on the strip in the same direction as when we made the first fold above. (Lift it up to double check one more time). Put two pins across the seam line.
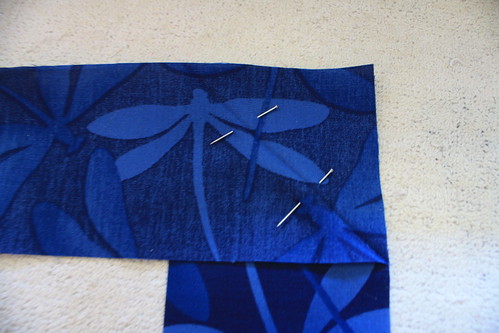
Now sew from corner to corner following the seam line you pressed.
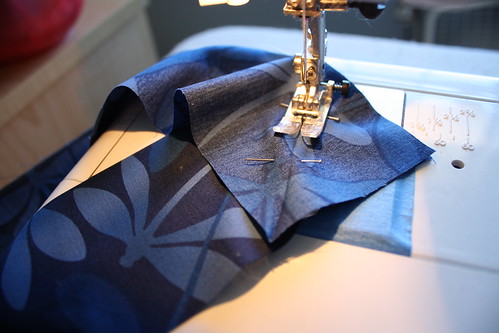
Do not break thread, go to the end of the triangle and stop.
This next part is a bit tricky, but I know you can do it! Remember right now you have 2 strips under your pressure foot. Strip 1 is face down on top, and strip 2 is face up on bottom.
Now take strip number 3 and place the end with no fold line face up. Grab the folded end of strip number 2, and place it face down on top of strip number 3, quickly check that you have the direction right and place two pins.

Sew this corner right after your first one without breaking thread, you can see how my corners are connected to each other now. This will be cut free when I am done.
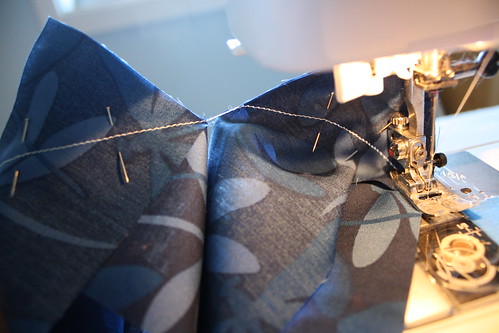
Continue on in this same way, grabbing the folded end of the previous strip under your pressure foot and an unfolded end of a new strip until you use up all your strips. Your strips will be looped, but that will be undone once you clip the connecting threads.

Now you can cut the connecting threads between the triangles and you should have one long strip. Before you cut the excess off your triangles, be sure to open up your seams and check one more time that everything opens up correctly and that you have one long continuous strip. Once the corners are cut it will be harder to adjust anything without a lot of trimming. (Ask me how I know this!) Once you know you have sewn correctly, cut your excess corners off leaving a 1/4 inch seam allowance.
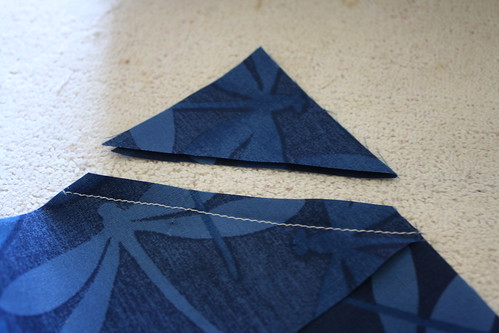
Iron your seams open and you should now have one long binding strip with nice angled seams.
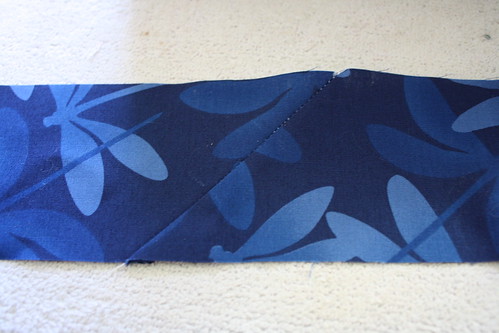
Fold your strip in half, wrong sides together and iron the fold.
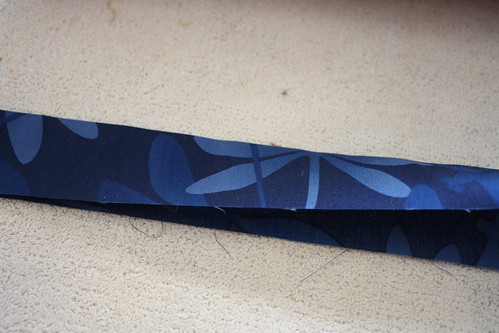
Make a nice pile of your folded binding and step back for a second and enjoy!
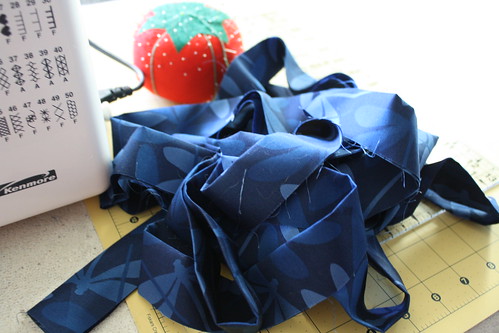
Now we are ready to attach your binding!
Start your binding in the middle of one side, you will want to leave at least a 5-6 inch tail, I will start my sewing where the pin is in the picture, so you can see a good size tail there. This will help us make a nice finished end once we have all our binding on. The binding should be put on so that the raw edge of the binding is against the edge of your quilt.
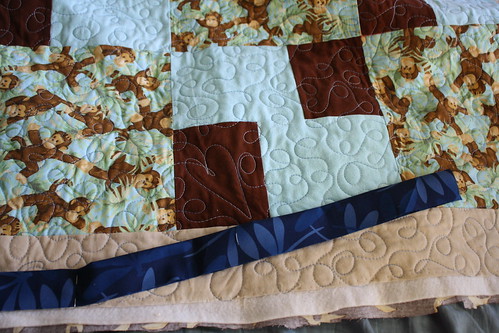
Sew your binding on with a 1/4 inch seam. You will notice in this picture that the edges of my quilt are not trimmed. I find it easier to do a nice 1/4 inch seam with all this bulk if I wait to trim at the end.
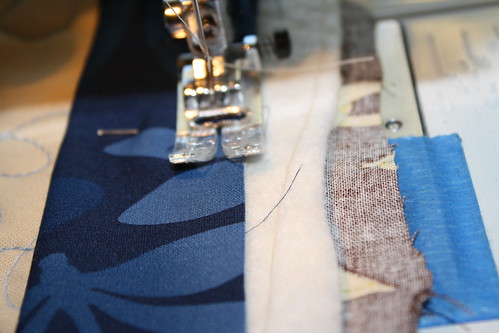
Sew your binding all the way to the corner stopping about 1/4 of an inch from the end. Stop with the needle in the down position, lift your pressure foot and pivot the quilt 90 degrees and sew off the edge of the quilt. It should look like this when sewn:
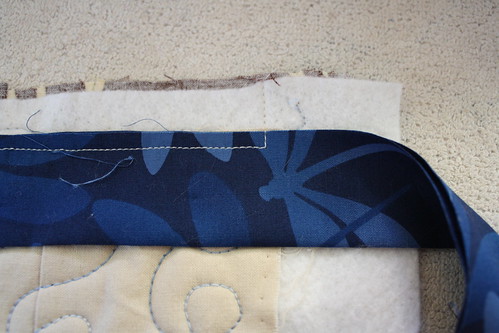
Not take your binding and fold it straight up to get a nice angle on the corner.
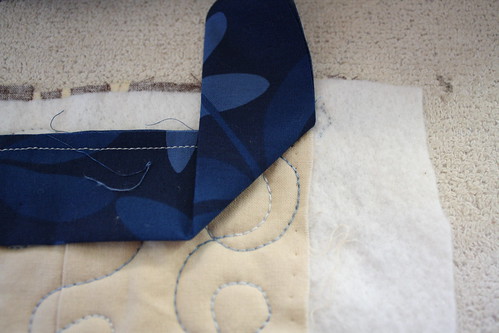
Then fold it straight back down.
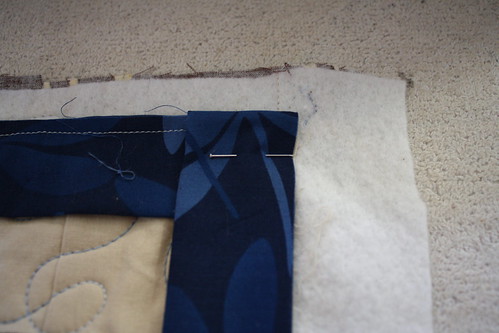
Sew the binding down completely, do not start 1/4 inch in from the edge.
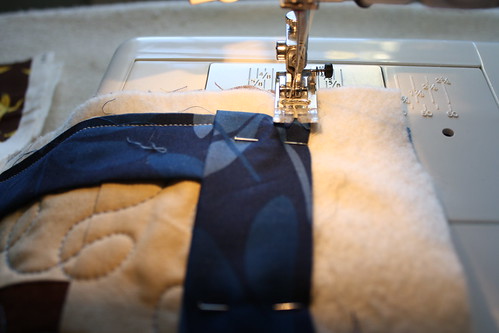
I was starting 1/4 inch in here and never had nice looking corners, since I stopped doing this, my corners have been perfect! Here is what it should look like when you sew back in:

Finish sewing the binding around all four corners, when you reach the side you started on, be sure to stop about 10-12 inches from where you started, there should be a nice long tail left on the end too. I will sew to the last pin in this shot.
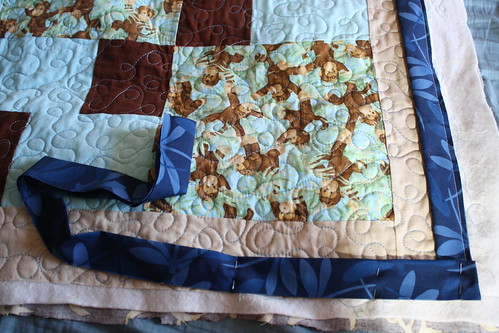
Lay the beginning tail completely straight against the edge of the quilt, trim that tail so the end of it is right in the middle of the gap you left. The first pic is how long both tails are, and you can see in the second where I trimmed the bottom tail.
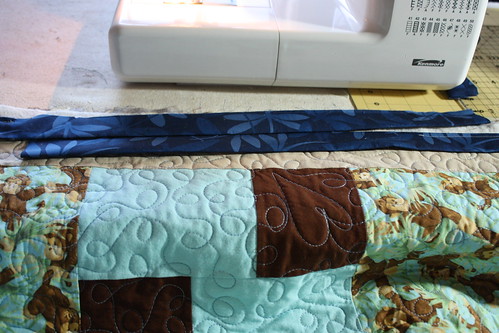

Take the last tail and lay it over the first, leave a slight gap so you can see where the first tail ends. Take the trimmings from the first cut and open it up, lay the trimming so one edge is even with the edge of the bottom tail.
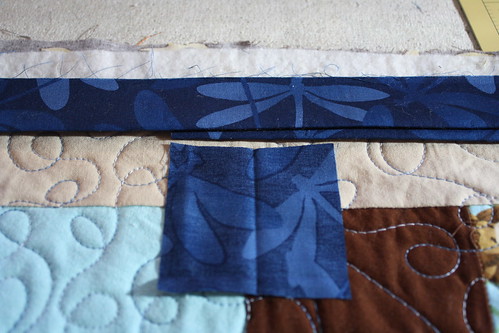
Trim the second tail so the overlay of the two is the same width as your binding trimming.
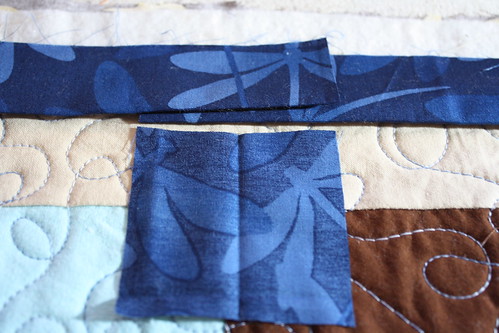
Now open up the first tail and lay it flat face up, take the second tail and open it and place it face down in the same fashion as we did when we made the binding. You will have to scrunch up the quilt to do this.
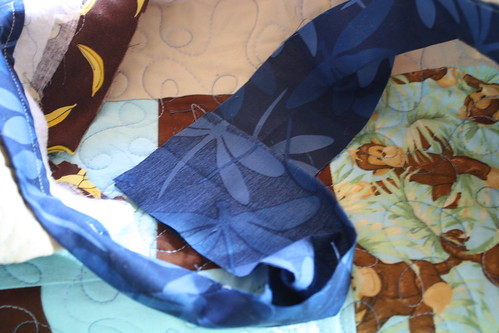
I pin right along the seam line
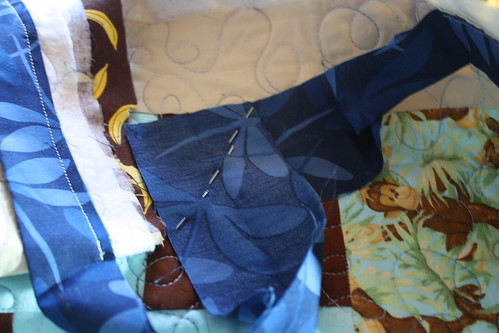
So I can test the fit and make sure nothing is twisted.

Once you know you have everything right, iron your seam line
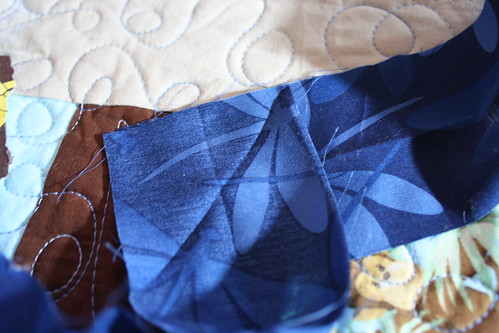
Pin with two pins and sew the line. This is bulky and a little hard to do, but I know you can do it!
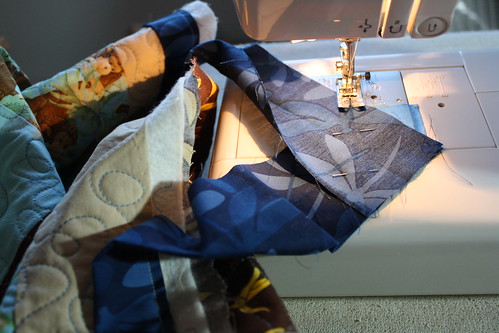
Check it one last time before you trim, once you know it is sewn right, trim the corner leaving a 1/4 inch seam.
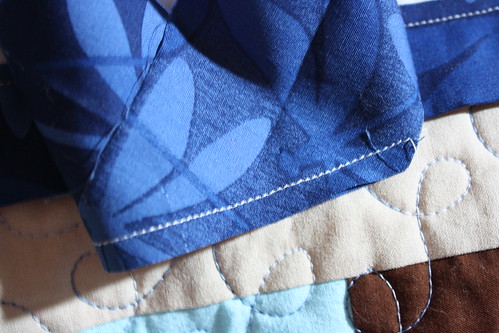
Iron the seam open and iron the fold again. Lay the remaining binding on the edge of the quilt and finish sewing on the gap.
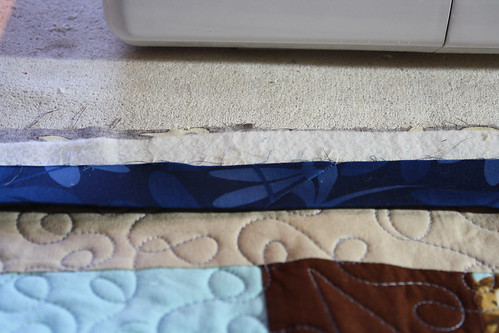
Now you want to trim the excess backing and batting away from your quilt. Trim right up to the binding.
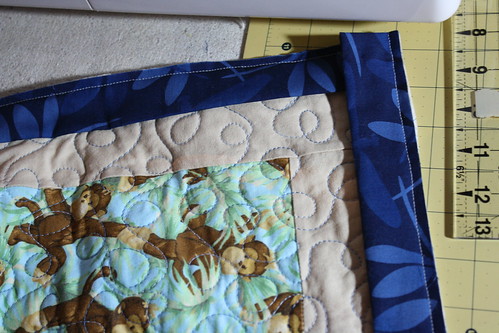
To finish putting the binding on, wrap it around to the back of the quilt and attach it with a slip stich. (this pic didn’t come out great, but you can look up a slip stitch pretty easily online.) Basically you go into the backing right along the binding, then come up catching just a few threads of the fold of the binding. When you are going through the quilt, you are not going through the front, but you want to keep your thread in between the layers so it does not show on the front.
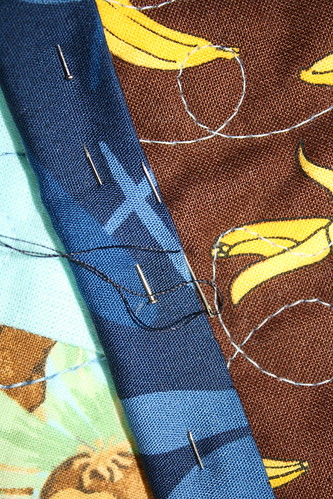
When you get to your corners, fold them up first.
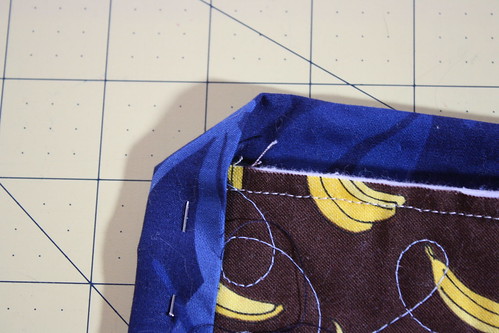
Then down.

Be sure to tack the corner, I use two little slip stitches there. The front of your corner should look nice and crisp this way.
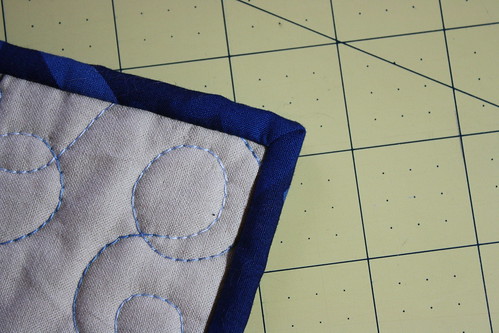
I know this tutorial is long, but I hope you find it useful! If you have any questions or need me to clarify anything, please feel free to leave me a comment!
Happy Quilting!
Rachel


